Debian VM
Prerequisites
These instructions were developed for Debian 12 and Hyper-V on Windows 11, however they will work with some minor modifications for other hypervisors, you will need:
- Virtualisation Software (i.e. qemu, Hyper-V or Virtual Box)
- An internet connection to download the ISO, you won’t be burning this to a DVD so you don’t need an optical drive.
- A PC with at least 8 GB of RAM, and 60GB of free disk space.
Download and Start the Debian Installer
- Visit the Debian Download page and download the latest version of Debian, use the the 64-bit PC DVD complete image is useful as we will be installing a full graphical interface. If you are in a rush or have slow internet then use the netinst image to only download what is required.
- If you are using Hyper-V:
- Open Hyper-V,
- From Actions Click New then Virtual Machine,
- Name your machine
DebianDevelopmentWorkstation - If you have a fast non-boot disk you can choose to keep your VM images on a different disk, select it from the Location box before clicking Next.
- Ensure Generation 2 is selected, and click Next.
- If you have at least 16GB of memory, you can dedicate 8 GB so enter
8192MB in the box and click Next. - Select the Default Switch from the drop down, this should be available in all versions of Hyper-V. Then click Next.
- The defaults should be sufficient for Virtual Hard Disks, so just click Next again.
- Select Install an operating system from a bootable CD/DVD-ROM then select the Image file option and click Browse… and find the ISO you downloaded in Step 1. Then guess what… click Next.
- Finally click Finish (you thought I was going to say next right?)
- You will need to go into the Virtual Machine Settings and Disable “Secure Boot” from the Security tab.
- If you are using Virtual Box you can follow the instructions on the Debian Wiki.
- Start your Virtual Machine, and you should be presented with the install screen:
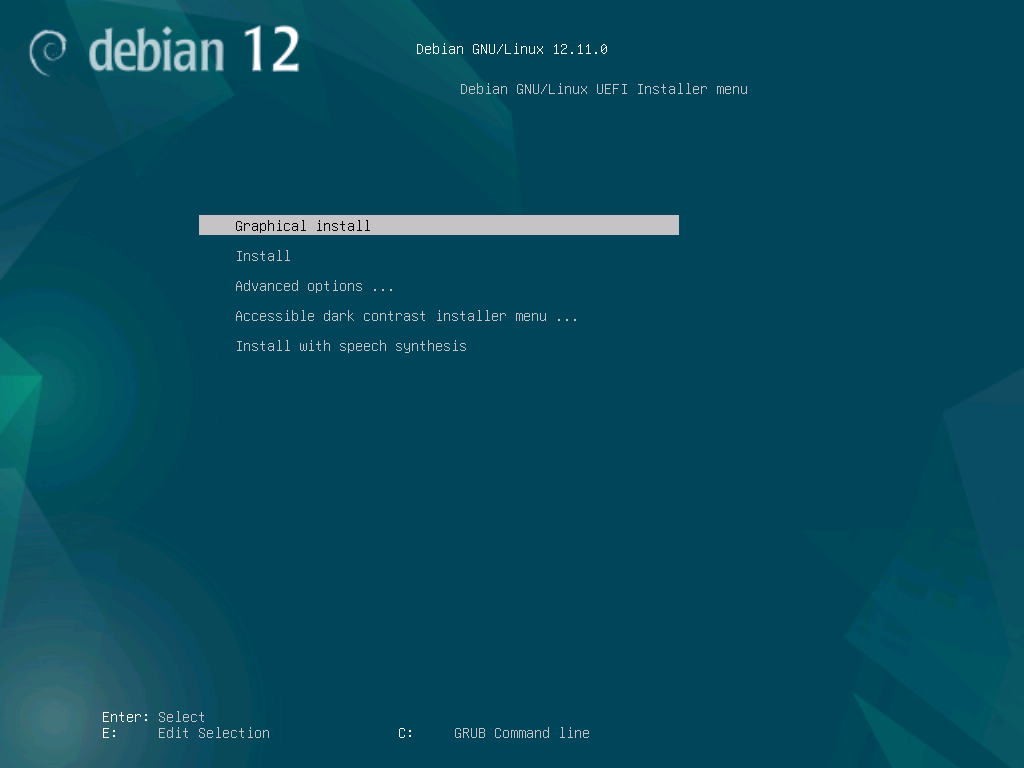
Install Debian
From the installer, select Graphical Install, then select your Language, Location, Keyboard, then:
- Select a name for the machine, I suggest something memorable, I will be using
nevis, then click Continue. - For the network you can make something up, I will be using
reitnorf, then click Continue. - Select a strong
rootpassword that you can remember (or better still use a password manager), then click Continue. - Select a generic name, I shall be using
scetrov, then click Continue. - Type your username, again I will be using
scetrov, then click Continue.
The installer will now do some detection of disks, when prompted select Guided - use entire disk:
- Select “the entire disk”, then click Continue.
- Then All files in one partition, then click Continue.
- Select Finish partitioning and write changes to disk, then click Continue.
- When prompted select Yes - don’t worry this is writing the to the Virtual Hard Disk, not wiping your main operating system disk, then click Continue.
- When prompted select No to scan for additional media, then click Continue.
- When prompted select Yes to use a network mirror, then click Continue.
- Select the closest location to you, I will be using United Kingdom, then click Continue, you can then select one of the mirrors, I will be using
ftp.uk.debian.org, then click Continue. - Click Continue again.
Debian will fetch some packages, and ask some questions about reporting statistics.
Selecting Packages
Debian will now ask you about some packages, there are options here, for a new user I recommend starting with GNOME or KDE Plasma (KDE is more familiar to Windows Users so if you are in doubt use KDE):
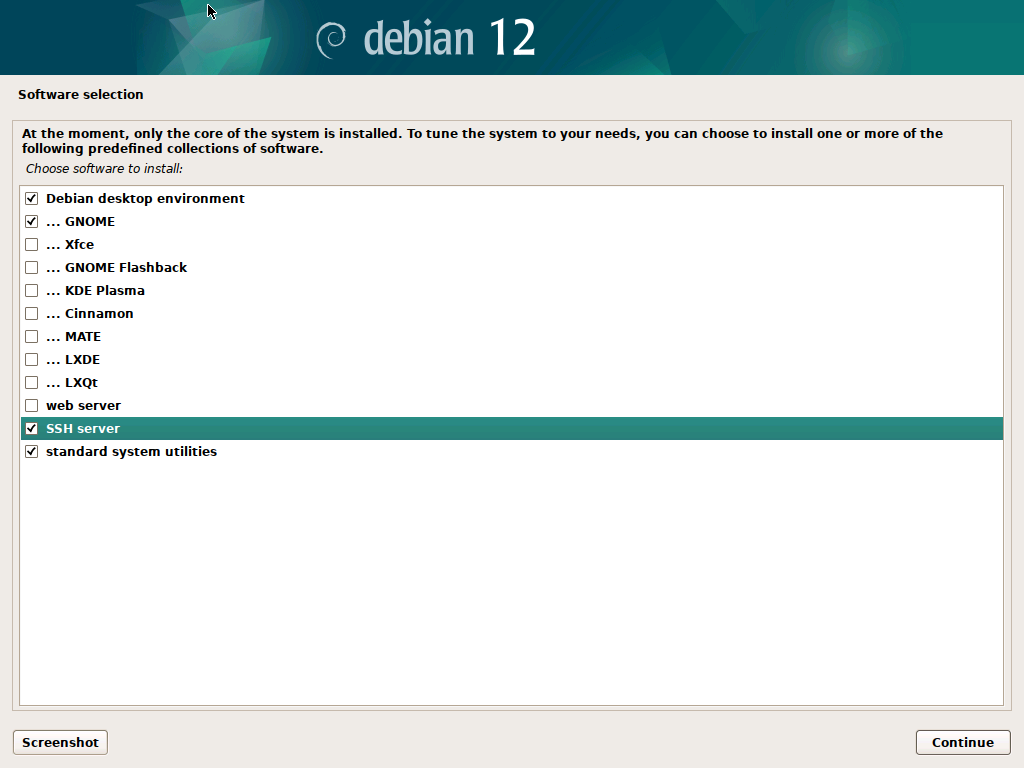
In addition, we will need SSH Server and standard system utilities. Click Continue to start installing packages, this will take a while so take a screen break and grab a coffee.
Finishing Up
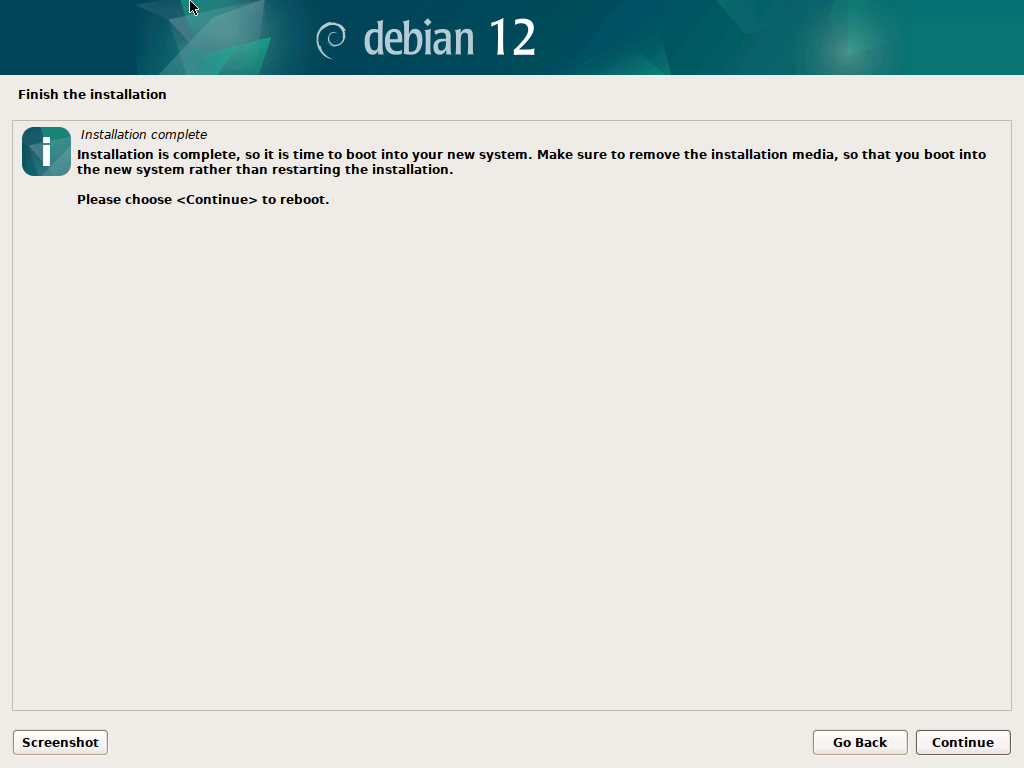
One last time with feeling, click Continue, to finish up and reboot.
Setup your development environment
Once your machine reboots you should be shown a login screen:
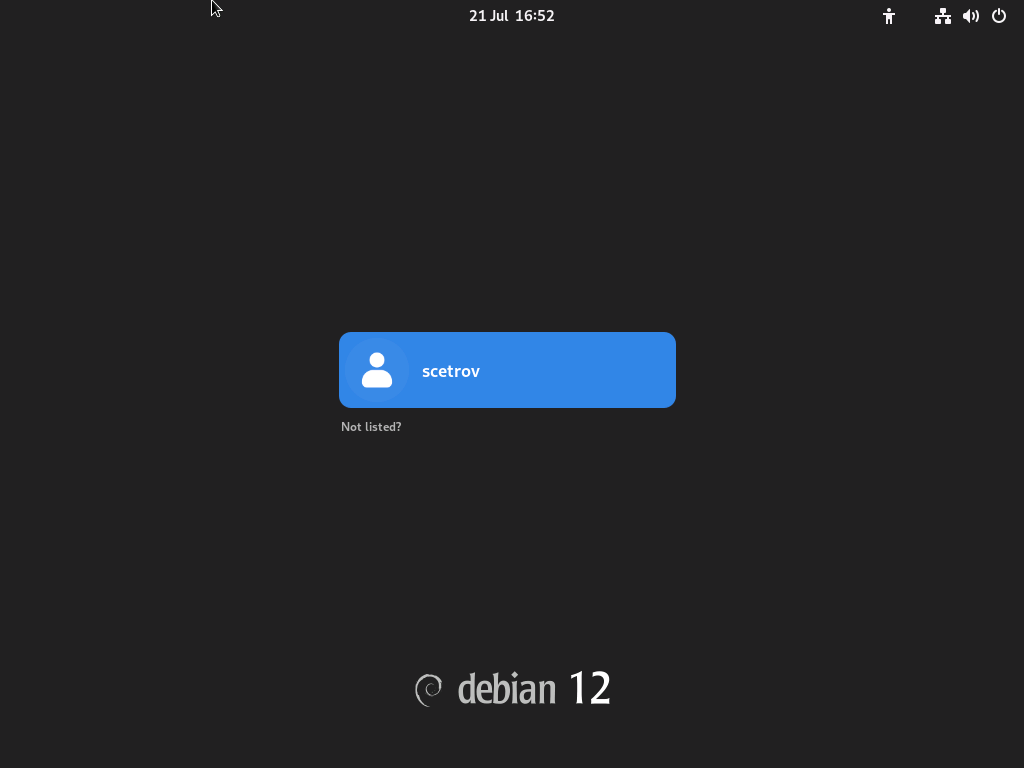
You will then be asked some additional questions about setting up GNOME (or KDE if you choose that):
- Select English or your preferred language,
- Select English (UK) or your preferred keyboard layout,
- Disable Location Services (they won’t work anyway),
- Click Skip when asked about connecting Online Accounts,
- Click Start Using Debian GNU/Linux
Install System Services
We will be using the command line to install additional tools, as this works across basically any Debian based distribution and aligns with CCPs own documentation.
Running Commands as Superuser (sudo)
To be able to run commands using sudo your account will need to be added to the sudo group:
- Switch to the
rootaccount withsu root - Type the command
sudo usermod -a -G sudo <username> - Press
Ctrl-Dto logout the root account shell. - Logout and then login again so your group is updated.
Important
Debian’s package manager is called apt and you will need to use the sudo command to execute it as a super user, as your user won’t have permission to change the system.
Updating Debian
You will need to keep Debian up-to-date and install additional tools, while it is possible to use the user interface to manage this, it’s often easier just to run some commands from time to time:
sudo apt update
sudo apt upgrade -y
sudo apt autoremove -y
sudo apt clean
You can install additional software with:
sudo apt install -y [packagename]I recommend you install some basic tools now such as curl, ca-certificates, git, build-essential, libssl-dev and neovim:
sudo apt install -y neovim curl ca-certificates git build-essential libssl-devTip
If the command asks for a CD / DVD then you need to remove the top line from /etc/apt/sources.list with a editor like nano:
sudo nano /etc/apt/sources.listPut a # at the start of the line starting deb cdrom: then save with Ctrl+O and exit with Ctrl-X.
Hyper-V Guest Tools
There is a good chance that the Hyper-V Guest Daemon is already installed, you can check with:
sudo apt install -y hyperv-daemonsIf you want to test this is working then from Powershell running as administrator run the following:
Get-VMIntegrationService -vmname DebianDevelopmentWorkstationInstall Remote Desktop
It’s often easier to be able to use Remote Desktop from Windows into the machine itself, this way you can copy and paste files, text and images from Windows onto the device itself.
sudo apt update
sudo apt install -y xrdp gnome-session
Then allow xrdp access to the ssl-certs via a group:
sudo adduser xrdp ssl-certSet your xsession to Gnome:
echo "gnome-session" | tee ~/.xsessionImportant
If you are using something other than Gnome, then you will need to find the relevant configuration for your preferred desktop. For example if you choose KDE then you will need to use:
echo "startplasma-x11" > ~/.xsessionInstead
Configure your xsession:
echo "export XAUTHORITY=${HOME}/.Xauthority" | tee ~/.xsessionrc
echo "export GNOME_SHELL_SESSION_MODE=ubuntu" | tee -a ~/.xsessionrc
echo "export XDG_CONFIG_DIRS=/etc/xdg/xdg-ubuntu:/etc/xdg" | tee -a ~/.xsessionrc
Grab your IP address:
ip addrFinally restart xrdp, then logout:
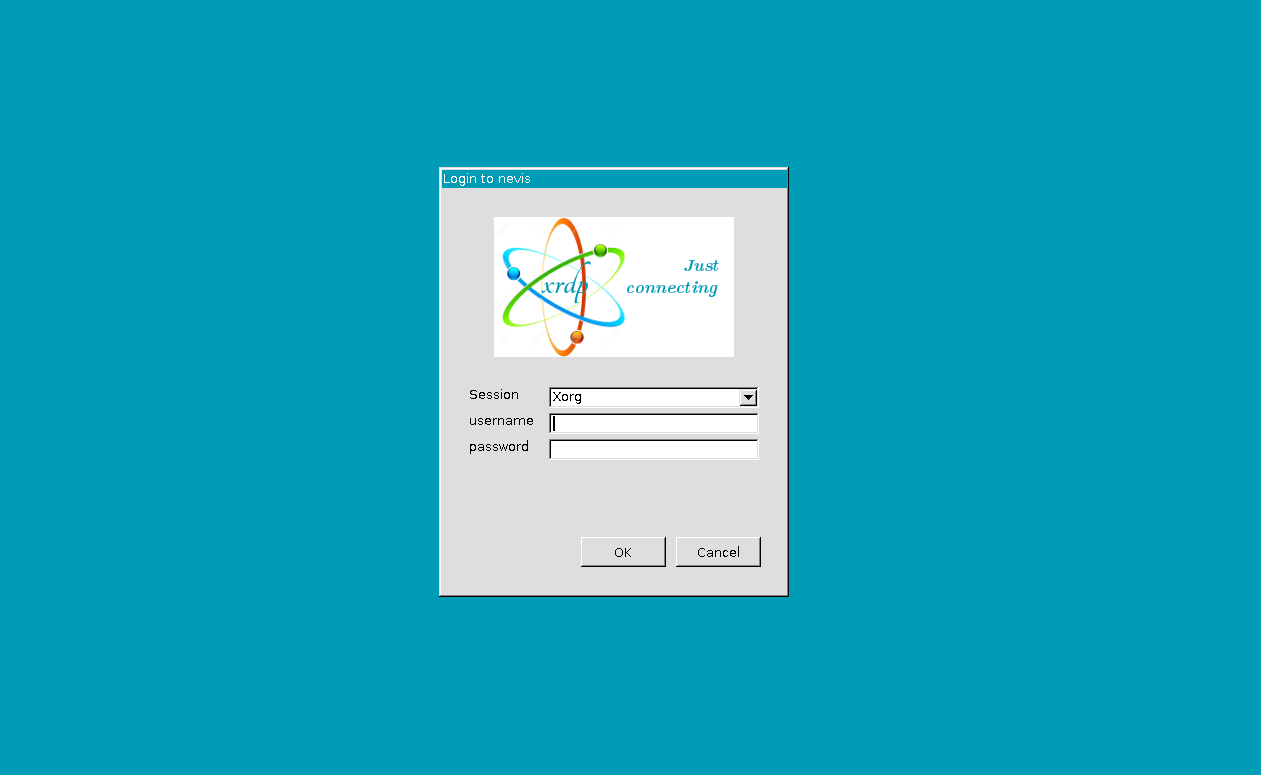
sudo systemctl restart xrdpYou should now be able to run the Terminal Services Client (mstsc.exe) from Windows and enter the IP address you copied earlier, when you press connect you will be presented with a login screen:
Connect via SSH
You can connect to the machine using a Secure Shell (SSH) as follows:
- Install OpenSSH on Windows 11
- From a PowerShell window type
ssh [username]@[ip addr], i.e.ssh [email protected]
Important
A secure shell is only a shell, i.e. command prompt, it doesn’t provide a graphical interface however you can complete all of the builder examples from the command line using a text-mode editor (i.e. neovim, vim, emacs or nano) and the pnpm command.
You can also use Visual Studio Code and it’s Remote Session plugin to connect to a Remote Linux Machine from your Windows PC without using Remote Desktop.
Installing Development Tools
GhosTTY
Ghostty is a modern Terminal Emulator (i.e. command prompt), you don’t need to install it but it’s fast and clean:
cd /tmp
wget https://github.com/mkasberg/ghostty-ubuntu/releases/download/1.1.3-0-ppa2/ghostty_1.1.3-0.ppa2_amd64_bookworm.deb
sudo apt install ./ghostty_1.1.3-0.ppa2_amd64_bookworm.deb
From this point onwards rather than opening Terminal you can open Ghostty instead.
Install Visual Studio Code
Tip
If you want to use a different editor such as Neovim, Cursor, Sublime Text, etc. you can skip this step.
-
Download the signing key that Microsoft uses to publish Visual Studio Code:
curl https://packages.microsoft.com/keys/microsoft.asc | gpg --dearmor > microsoft.gpg -
Install the key:
sudo install -o root -g root -m 644 microsoft.gpg /etc/apt/keyrings/microsoft-archive-keyring.gpg -
Add the Microsoft repository to sources:
sudo sh -c 'echo "deb [arch=amd64,arm64,armhf signed-by=/etc/apt/keyrings/microsoft-archive-keyring.gpg] https://packages.microsoft.com/repos/code stable main" > /etc/apt/sources.list.d/vscode.list' -
Install Visual Studio Code
sudo apt install -y code
Tip
Once you have Visual Studio Code installed you can install plugins for Move, code formatting (Prettier), etc and login to GitHub to access GitHub Copilot.
Docker
You don’t need to install Docker Desktop on Linux because Linux already provides the Kernel required to run containers without any separate infrastructure.
Important
If you are installing Docker on a computer owned by a company then you may need to buy a license; to avoid this you can use Podman instead.
-
First remove old versions of docker components:
for pkg in docker.io docker-doc docker-compose podman-docker containerd runc; do sudo apt-get remove $pkg; done -
As with Visual Studio Code you will need to add Docker’s GPG keys:
sudo install -m 0755 -d /etc/apt/keyrings sudo curl -fsSL https://download.docker.com/linux/debian/gpg -o /etc/apt/keyrings/docker.asc sudo chmod a+r /etc/apt/keyrings/docker.asc -
Add the repository to sources:
echo \ "deb [arch=$(dpkg --print-architecture) signed-by=/etc/apt/keyrings/docker.asc] https://download.docker.com/linux/debian \ $(. /etc/os-release && echo "$VERSION_CODENAME") stable" | \ sudo tee /etc/apt/sources.list.d/docker.list > /dev/null sudo apt-get update -
Now install Docker:
sudo apt-get install docker-ce docker-ce-cli containerd.io docker-buildx-plugin docker-compose-plugin -
Add the
dockergroup:sudo groupadd docker -
Add the current user to the new group:
sudo usermod -aG docker $USER -
Refresh your users group membership:
newgrp docker
Details
You should test that Docker works by running docker run hello-world if this doesn’t work you may need to restart the virtual machine with sudo shutdown -r now.
Troubleshooting Guide
This section provides solutions to common issues that may arise during setup or development.
Virtual Machine Issues
Problem: No internet connection in the VM Solution:
-
Ensure your VM network is attached to “NAT” (VirtualBox) or “Default Switch” (Hyper-V).
-
Restart the VM to apply network changes.
-
Inside the VM, run:
ip addr
If no IP is assigned, try restarting networking:
sudo systemctl restart networkingProblem: VM won’t boot from ISO Solution:
- Make sure the ISO is attached as a virtual CD/DVD.
- Disable “Secure Boot” in the VM’s settings.
- In VirtualBox, use the “Debian (64-bit)” profile and increase video memory to 128 MB.
User and Permissions Issues
Problem: sudo: command not found
Solution:
-
Log in as root:
su - -
Install
sudo:apt update apt install sudo
Problem: User is not in the sudo group
Solution: Switch to the root user and run:
usermod -aG sudo <yourusername>- Log out and back in to apply the group change.
Remote Desktop (RDP) Issues
Problem: Black screen after connecting via RDP Solution:
For GNOME:
echo "gnome-session" > ~/.xsessionFor KDE Plasma:
echo "startplasma-x11" > ~/.xsessionRestart xrdp:
sudo systemctl restart xrdpEnsure you’re not logged into a local session already.
Problem: RDP authentication fails Solution:
-
Verify the user account has a password set.
-
Check firewall settings:
sudo ufw allow 3389
SSH Issues
Problem: Cannot connect via SSH Solution: Ensure the SSH server is installed and running:
sudo systemctl status ssh-
Use the correct IP address:
ip addr -
Allow SSH through the firewall:
sudo ufw allow 22
apt / Package Issues
Problem: apt asks for CD/DVD or fails to find packages
Solution: Edit /etc/apt/sources.list and comment out lines starting with deb cdrom::
sudo nano /etc/apt/sources.list-
Then run:
sudo apt update
Problem: Hash Sum mismatch or failed to fetch packages Solution: Clear the local package cache:
sudo apt clean
sudo apt update
Docker Issues
Problem: Docker permission denied Solution: Add your user to the Docker group:
sudo usermod -aG docker $USER
newgrp docker
Problem: docker: command not found
Solution:
-
Reinstall Docker using the correct steps outlined earlier.
-
Verify Docker was installed successfully:
docker --version
Development Tools
Problem: nvm or node not found after install Solution: Restart your terminal or run:
export NVM_DIR="$HOME/.nvm"
[ -s "$NVM_DIR/nvm.sh" ] && \. "$NVM_DIR/nvm.sh"
Problem: pnpm command not found Solution: Ensure it is installed globally:
npm install -g pnpm@latestMiscellaneous
Problem: Can’t find VM IP address Solution: Run:
ip addr- Look under interfaces like
eth0,ens33, or similar.
Problem: Incorrect system clock in VM Solution: Update time settings:
sudo timedatectl set-ntp true
sudo timedatectl set-timezone <your/timezone>